
Last updated November 15, 2026
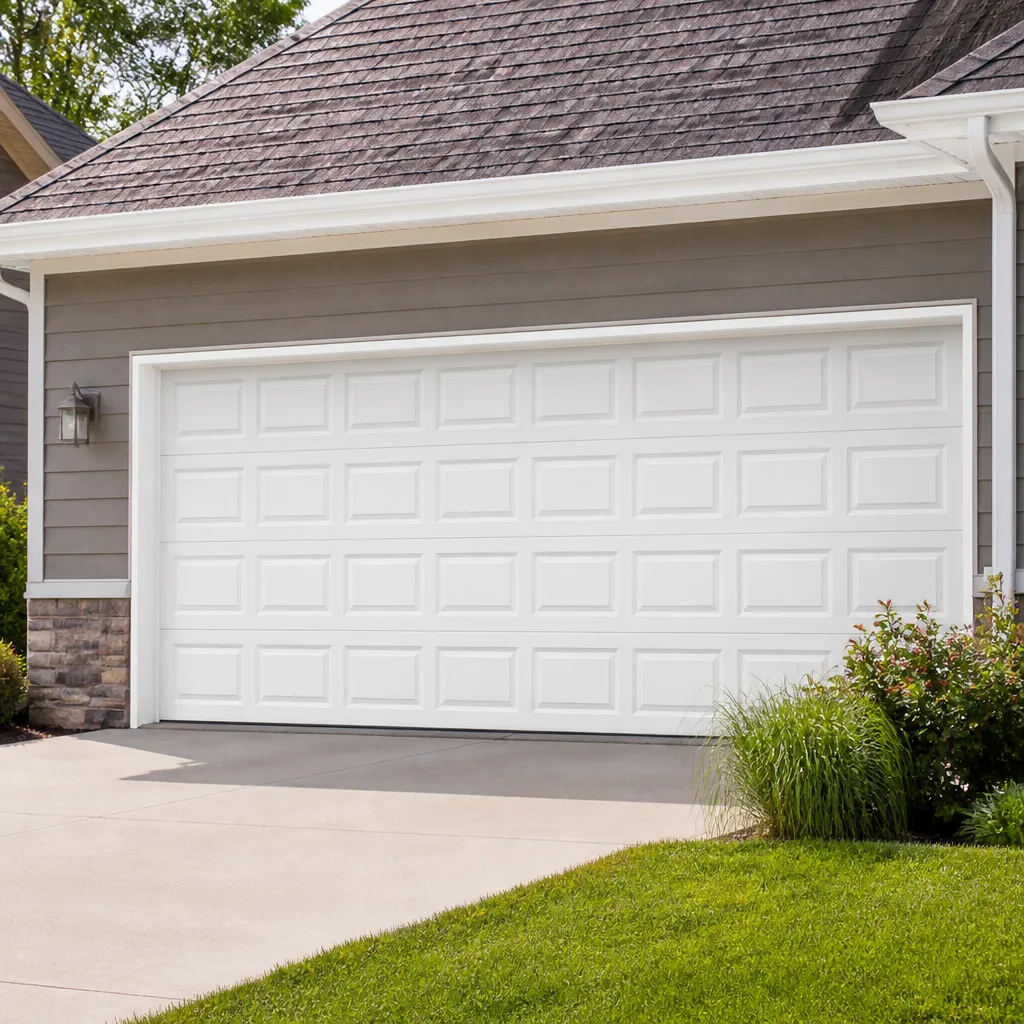 Raised-panel steel
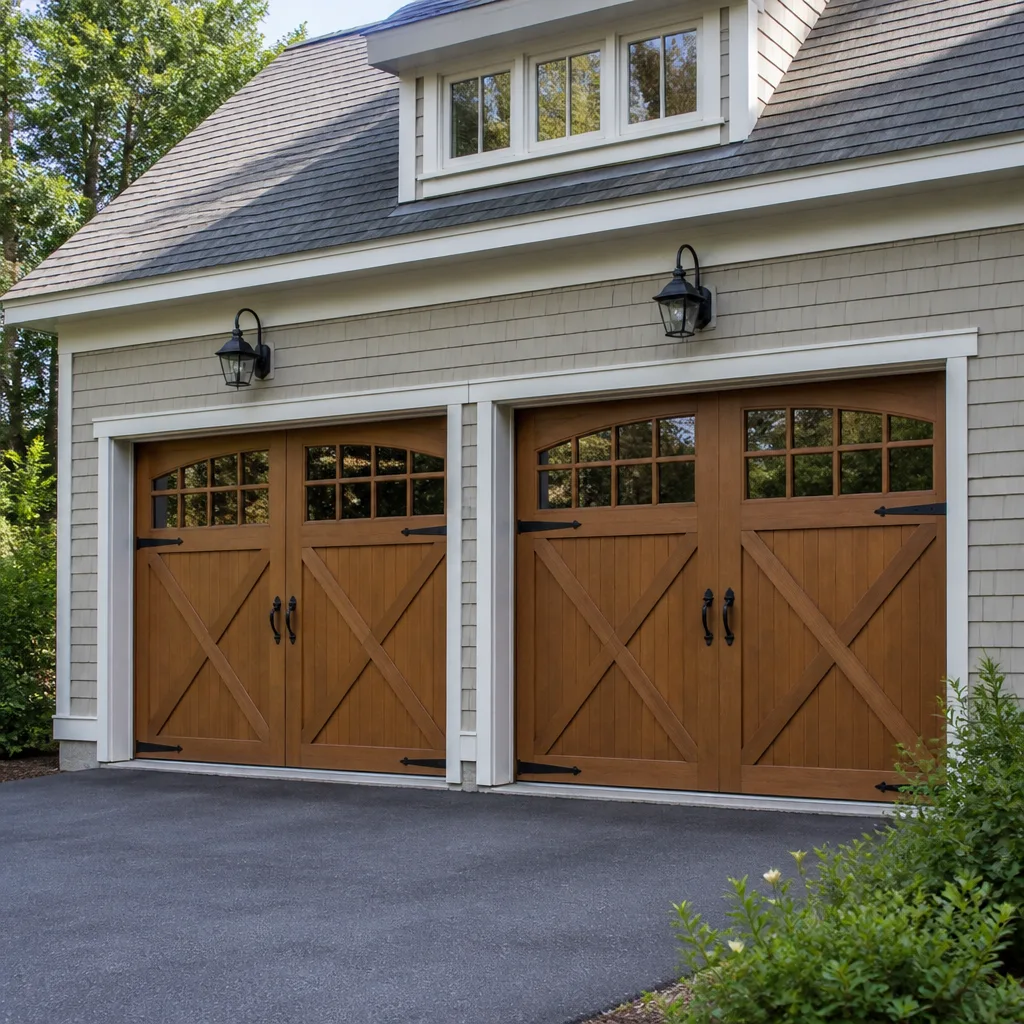 Carriage house
 Modern flush
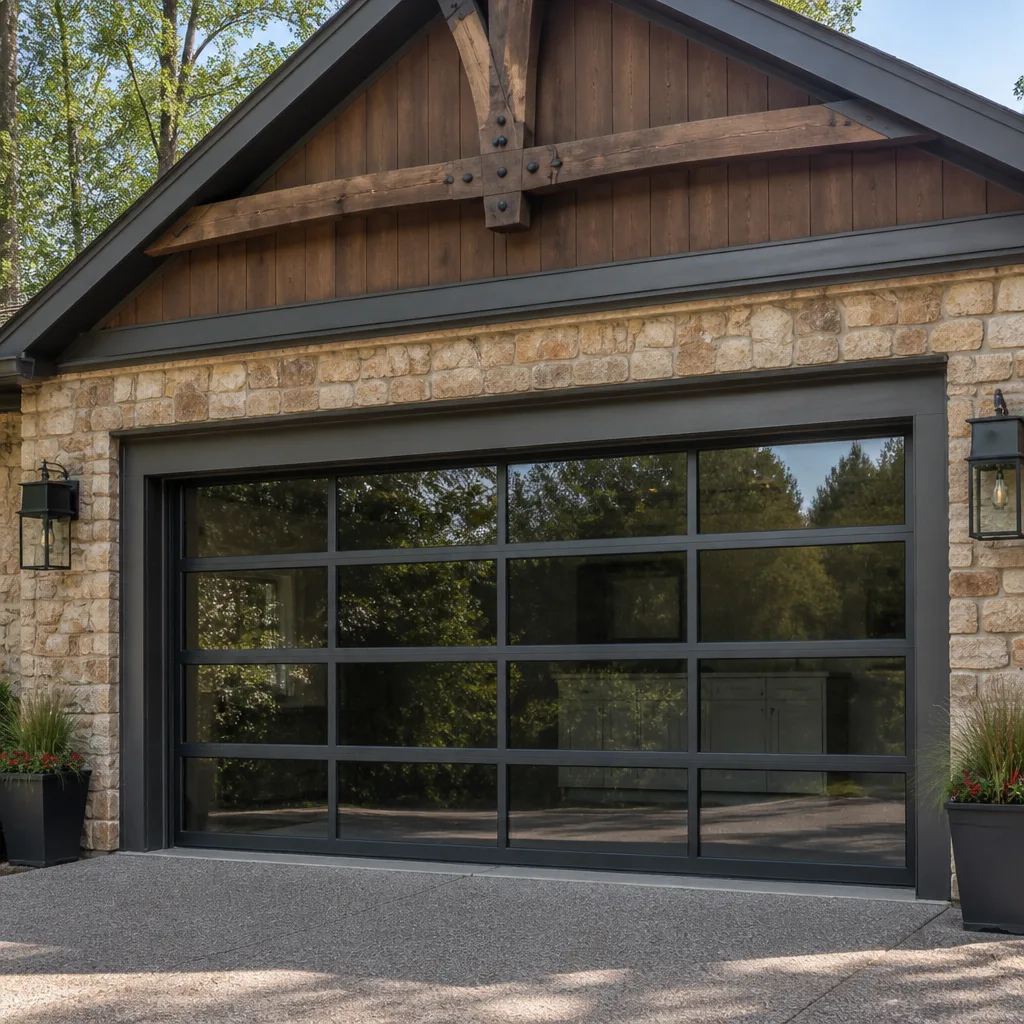 Full-view glass
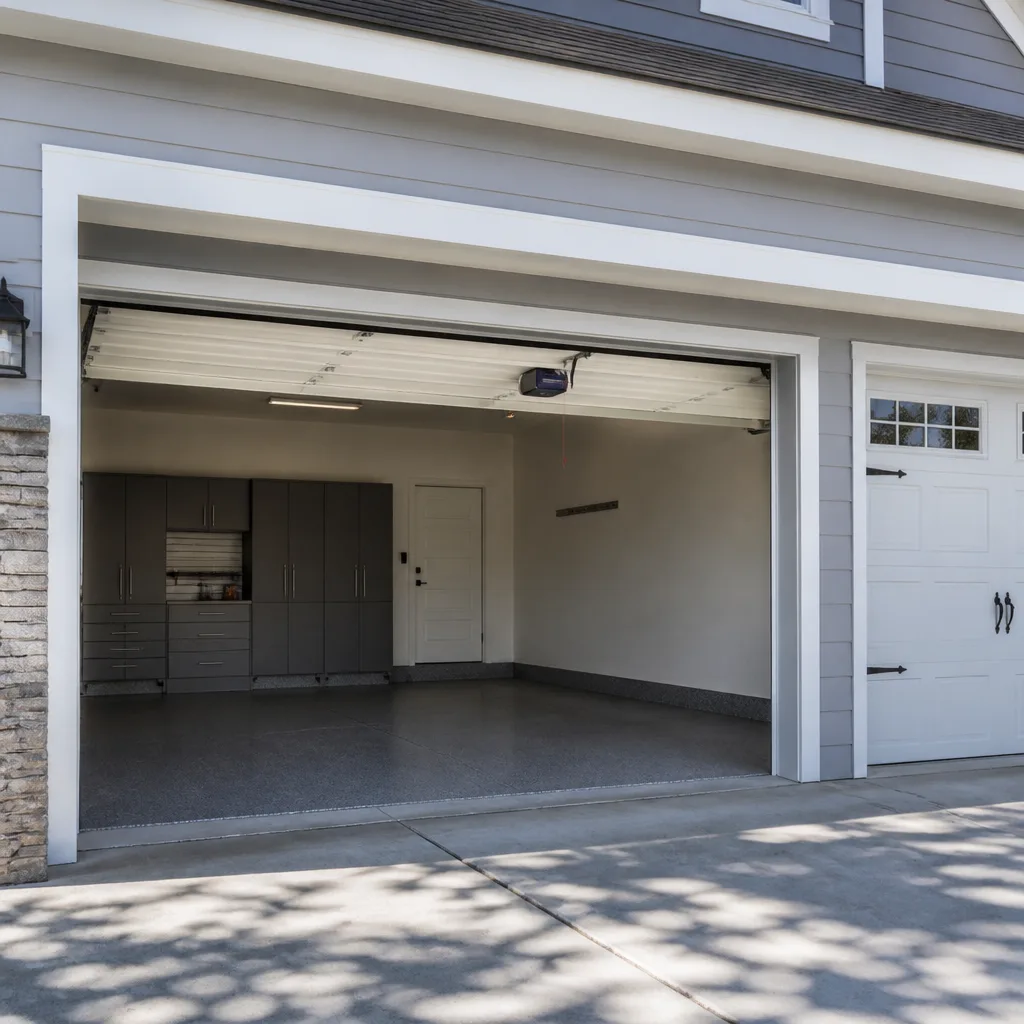 LiftMaster openers
 Chamberlain openers
Full 25-point door and opener safety check with every visit - springs, cables, rollers, tracks, and your LiftMaster or Chamberlain opener included
You get a price before we start. It does not change when the pro arrives.
Get your free estimateDIY vs Professional Garage Door: The Naperville Homeowner’s Decision Guide
Most homeowners who get hurt working on a garage door are not careless people. They are capable, tool-owning, confident people who fixed their own deck last summer. That is exactly why this guide leads with the mechanical truth instead of a sales pitch: a torsion spring stores enough energy to break a wrist, routinely enough that the Consumer Product Safety Commission tracks garage door spring injuries as a distinct category. The question is not whether you are handy. It is whether the risk-to-savings ratio makes sense on any given task. This guide draws that line task by task so Naperville homeowners know precisely where DIY stops paying for itself, what tools the honest DIY route actually requires, and which jobs a homeowner can genuinely finish on a Sunday afternoon without danger.
Quick Answer
Safe DIY candidates on a garage door are weatherstripping, sensor alignment, lubrication, and remote reprogramming. Everything under tension – springs, cables, drums, bottom brackets – and anything wired into your home’s electrical panel belongs with a trained professional. The dividing line is not skill; it is stored mechanical energy and electrical hazard. Our technicians have up to 15 years of experience and can walk you through which side of that line your specific problem sits on.
Styles & brands we work with
- Raised-panel steel
- Carriage house
- Modern flush
- Full-view glass
- LiftMaster openers
- Chamberlain openers
Table of Contents
- The Task-by-Task Risk Matrix
- The Hidden Costs of DIY No Tutorial Mentions
- How DIY Can Void Your Manufacturer Warranty
- The Four Tasks That Are Genuinely Good DIY Candidates
- What DIY Jobs Gone Wrong Look Like
- Why Naperville Winters Make the Stakes Higher
- A Five-Step Decision Process Before You Pick Up a Wrench
- Common Mistakes to Avoid
The Task-by-Task Risk Matrix
Three categories cover every garage door task. Green tasks are safe for a mechanically comfortable homeowner. Yellow tasks require tools most households do not own and carry real injury risk if the procedure goes wrong. Red tasks carry the kind of stored energy where a single slip can end a weekend in an emergency room.
Green – safe DIY:
- Weatherstripping replacement (bottom seal and side seals)
- Photo-eye sensor alignment and cleaning
- Lubricating hinges, rollers, and the opener rail with a proper garage door lubricant
- Reprogramming opener remotes and keypads
- Touch-up painting on steel doors (though check the door’s manufacturer guidance first)
Yellow – careful DIY or call a pro:
- Replacing a single hinge or roller – doable, but on a door that is already under tension, always release that tension first
- Track straightening – mild dents can often be worked back, but bent roller tracks usually mean a misaligned door and that needs a professional eye
- Adjusting opener travel limits – straightforward on most LiftMaster and Chamberlain models, but wrong settings can crush the travel limit and cause a door to reverse at the wrong point
Red – professional only, without exception:
- Cable replacement – the cables hold the door’s weight; a snapped cable during removal has taken fingers
- Torsion spring replacement or adjustment
- Extension spring replacement on older doors
- Bottom bracket replacement
- Drum and shaft work on the top of the door
- Any wiring into the home’s electrical panel for opener power
If the task appears on the red list, that is the end of the conversation for the DIY route. A trained technician’s touch on a spring repair in Naperville costs a fraction of a fractured hand. For details on what those repair ranges look like, see our garage door repair pages.
The Hidden Costs of DIY No Tutorial Mentions
Every tutorial video starts with “here’s what you’ll need” and skips the part where a proper torsion spring setup on a modern door needs hardware most homeowners never buy twice. Add those up honestly and the savings on a spring job narrows fast.
Here is what a genuine DIY spring or cable toolkit looks like – priced by category rather than exact amounts, because we won’t quote equipment we don’t sell:
- Winding bars: a pair of proper hardened winding bars sized to the spring cone. Improvised substitutes (screwdrivers, hex keys) are what cause most home spring injuries.
- Torque wrench: required to tension set screws to the manufacturer’s spec. Cheap torque wrenches read wild on low torque.
- Cable drums and a cable tension keeper: essential for cable replacement and not stocked at most general hardware stores.
- Spring clamp or vice grip pair rated for the door: used to keep the door locked in position during service. Improvised clamping is a documented injury source.
- Assuming the first attempt doesn’t fix it: the diagnostic cost. If a spring is replaced and the door still creeps, the second diagnosis is where the real money goes – not the parts.
The part that doesn’t show up in the spreadsheet at all is time. A trained technician completing a torsion spring replacement often finishes the job inside an hour because they have done hundreds. A first-time homeowner working carefully with borrowed tools might turn the same job into an entire afternoon, plus a hardware store trip, plus a re-work. Put a value on three hours of your Saturday and the DIY economics on a spring job fall apart.
On a mid-size Naperville door, a professional spring repair for one spring is a typical item, and replacing the pair at the same time costs about twice one spring. The written estimate is the final price, and it sets before any work begins, so you know the number before anyone picks up a tool. That makes the DIY comparison concrete instead of theoretical. Call Steadfast Garage Door Repair if you want a baseline quote on the job before deciding.
How DIY Can Void Your Manufacturer Warranty
Most residential garage door warranties are explicit about who may service what. The door hardware and the torsion assembly are commonly covered under parts and finish warranties only if the work is done by a professional, and doors from Clopay, Amarr, and Wayne Dalton all carry documentation you should read before lifting a wrench. Where a warranty is still live, a homeowner-installed spring or cable that fails can void the covered portion of the door’s warranty – sometimes the whole opener section as well.
Here is how to check your documentation in five minutes:
- Locate the panel sticker or serial tag on your door – usually inside the top section. Note the model and, if present, the installer name.
- Find the warranty card or booklet that came with the door, or the opener manual from your opener (LiftMaster and Chamberlain both publish these online by model number).
- Read the fine print for the words “professional installation” or “authorized service.” Those clauses are where DIY coverage is at risk.
- Check whether the opener’s warranty requires the door to be balanced and in correct adjustment. A door that fails because of a DIY spring install can put the opener warranty in question even if the opener is untouched.
- If the warranty card names an installer, call them. Many manufacturers will record warranty work only if the original installer performs it.
For Naperville homeowners with a door under ten years old, checking the paperwork first is almost always worth the five minutes. A warranty claim that survives an honest DIY mishap is far cheaper than the repair itself.
The Four Tasks That Are Genuinely Good DIY Candidates
This is where the guide earns its keep. These four are safe, low-tool, high-payoff jobs. Each one takes under an hour, and each one improves the door’s longevity, safety, or the security of your home.
1. Replace the bottom weatherstripping
- With the door closed, measure the width of the bottom section and order the matched seal (typical garage door bottom seal is sold in 9-foot increments; measure once, order once).
- Look at the end of the door’s bottom section. Some seals pull out of a track; others are nailed or screwed into a retainer.
- If it’s a pull-out seal, walk the new seal in from one end and work it across, stretching slightly as you go. If it’s a retainer-and-nail style, back out the old fasteners first, and fix the new seal with the same fasteners.
- Close the door and check for ground contact across the full width. A 1/4-inch gap is the difference between a dry floor and a wet one after a storm.
2. Align the photo-eye sensors
Photo-eyes are the two small lenses near the floor on either side of the door. When one is nudged out of alignment, the door will reverse or refuse to close. Loosen the wing nut on the sensor bracket, aim the LED lens at the opposite sensor’s LED until both are steady (not blinking), and tighten the wing nut. Then test by passing your hand through the beam – the door should reverse immediately.
3. Lubricate the moving parts
Use a garage-door-rated spray lubricant, not WD-40 or motor oil. Apply a thin film to each hinge pivot, each roller stem, and the opener rail (for a belt or chain opener). Do not spray the tracks – tracks collect dust when greased and make rollers bind. Two minutes of lubrication once or twice a year is the single cheapest way to extend door life.
4. Reprogram remotes and keypads
For most LiftMaster, Chamberlain, and Craftsman openers, hold the learn button on the opener head until the indicator LED clicks once, then press the remote button twice within about thirty seconds. Keypad programming follows the same pattern with a four-digit code entered first. The opener manual carries the specific sequence for your model, and it takes a minute to find.
For more on diagnosing opener issues before they become hardware problems, our garage door opener repair page goes deeper.
What DIY Jobs Gone Wrong Look Like
The three most common errors we see on a follow-up call are all avoidable with the right information before the first wrench turn.
Mistake one: over-winding the spring. A homeowner replaces a torsion spring and sets the turns by feel rather than by the door’s actual balance point. The door now fights the opener on the way down, wearing the opener gear and stressing the panel. The fix is a spring adjustment, and the downstream cost often includes a stripped opener gear.
Mistake two: crossing the cables during a cable swap. Cables on double doors must mirror each other. Crossed cables create a door that hangs crooked and binds on one track, which is often misdiagnosed as a bent track. The panel itself is sometimes the casualty.
Mistake three: using a screwdriver as a winding bar. The screwdriver bends under load, slips out of the cone, and the spring spins free – the classic injury on a home garage door. The follow-up repair here is usually the cheapest part. The injury is not.
These are not cautionary tales. They are a diagnostic checklist. If your door has just had a DIY attempt and it still runs rough, misbehaves, or won’t close flush, the fix usually starts with re-establishing balance and then looking at what that imbalance has worn out. That diagnostic discipline is what Steadfast’s brand promise is grounded in – not pushy selling, but knowing exactly what’s wrong before touching anything.
Why Naperville Winters Make the Stakes Higher
Garage door hardware in Naperville lives through a hard seasonal cycle that hardware in a milder climate does not. Winters bring repeated freeze-thaw cycles, and every cycle moves the concrete slab under the door. Summer heat expands the door panels and the weatherstripping. The result is a door that runs differently in January than it does in July, and a homeowner who adjusted a travel limit in July is likely to find the door reversing at a strange point in January.
That matters for the DIY decision in two specific ways:
- Balance changes with temperature. A door that felt light and well-balanced in summer can feel heavy in winter when the tracks are cold and the lubricant is stiff. A homeowner who re-tensions a spring in August to “fix” a door that binds may find the same door over-tensioned in February.
- Cold weather makes cable and spring failure more likely, not less. Metal ductility drops as temperatures fall, so a marginal cable is more likely to fail in February than in May. A red-list task is more dangerous in a cold garage than a warm one, not because the risk is different but because the response time to injury and the grip are worse.
In Naperville neighborhoods like Cress Creek, Hobson West, and the older stretches near downtown, many doors are Wayne Dalton or Clopay models that are now a decade or more into service. Balance checks and lubrication in the fall go a long way toward taking the pressure off the winter months. If your door starts making a fresh noise or reversing at odd heights in the cold, that is not a DIY puzzle to solve over the weekend. It’s a balance and hardware call. Our Naperville page covers how we work through that: Naperville.
A Five-Step Decision Process Before You Pick Up a Wrench
Use this before starting any garage door task. If you answer yes to the red-list question or no to more than one yellow-list question, that task is a professional one.
- Is the task on the red list? Springs, cables, drums, brackets, panel wiring. If yes, stop here. Call a professional.
- Is the door currently balanced? Lift the door halfway by hand (with the opener disconnected, or on a manual door) and release it. It should stay put. If it drops or rises on its own, the door is out of balance – do not attempt a task on an unbalanced door. That is a professional call.
- Do you own the right tools? For any yellow-list task, check for a garage-door-rated spring clamp, proper torque wrench, or correct-size socket before starting. Borrowing a marginal tool from a neighbor is what causes a job to go sideways.
- Is the door still under warranty? Read the panel sticker and warranty booklet. If “professional service” appears in the fine print, the DIY savings evaporate on the first warranty-voiding mistake.
- Is the task time-boxed to an hour or less? Green-list tasks fit. Anything that runs over an hour and hasn’t gone smoothly is telling you something is wrong. Stop, call a professional, and get a diagnosis before things escalate.
That is the whole decision. Five questions, none of which require special training to answer honestly.
Common Mistakes to Avoid
- Treating a hand-tested balance check as optional. Every red-list task requires starting from an unbalanced door – never confirm balance by eye. If the door doesn’t hold its own position when lifted halfway, the spring needs professional service first.
- Spraying WD-40 on rollers and hinges. WD-40 is a solvent, not a garage door lubricant. It strips existing lubricant and leaves hinges dry within days. Use a garage-door-rated spray designed for the job.
- Replacing one spring and not the pair. Springs wear together – a five-year-old spring on one side and a new one on the other creates a door that hangs slightly uneven and strains the opener. Professionals almost always replace a matched pair for that reason.
- Ignoring the opener’s LED blink codes. Modern LiftMaster and Chamberlain openers blink a specific count of times to signal what failed. Counting the flashes tells you what to fix; guessing at the fix wastes an afternoon.
- Over-torquing bracket bolts on a DIY cable job. Bolts that are cross-threaded or over-tightened on a bottom bracket are one of the most common causes of a door that suddenly feels “loose” after a DIY attempt. It’s not loose – it’s mis-installed.
- Adjusting travel limits without checking the safety reverse. After any travel-limit change, test the safety reverse with a 2×4 laid flat under the door. The door should reverse on contact. A door that doesn’t pass this test is unsafe, not just inconvenient, especially with pets and children in the garage.
- Assuming a noise is a hardware problem. A new squeal in winter in Naperville is often cold-stiffened lubricant, not a failing hinge. Lubricate first, diagnose second, and call us only if the noise continues after a proper lube.
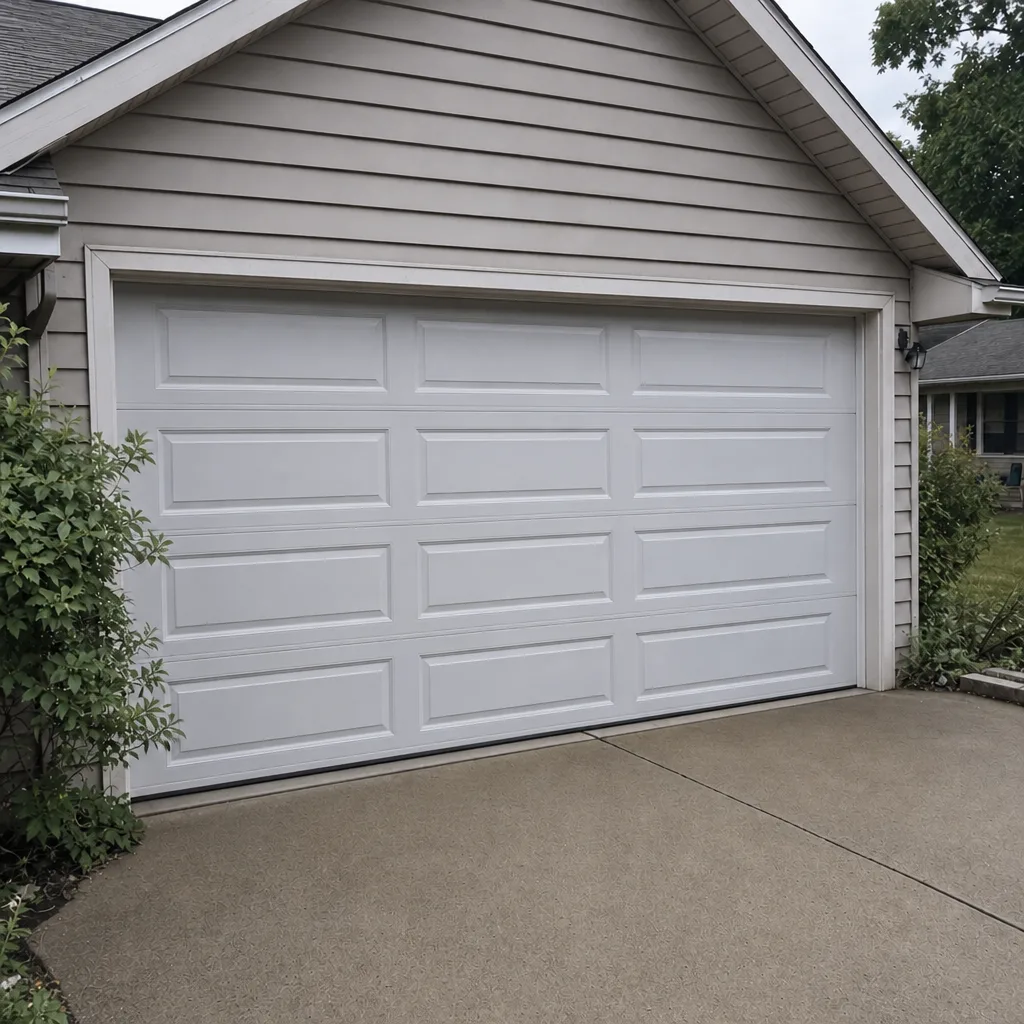
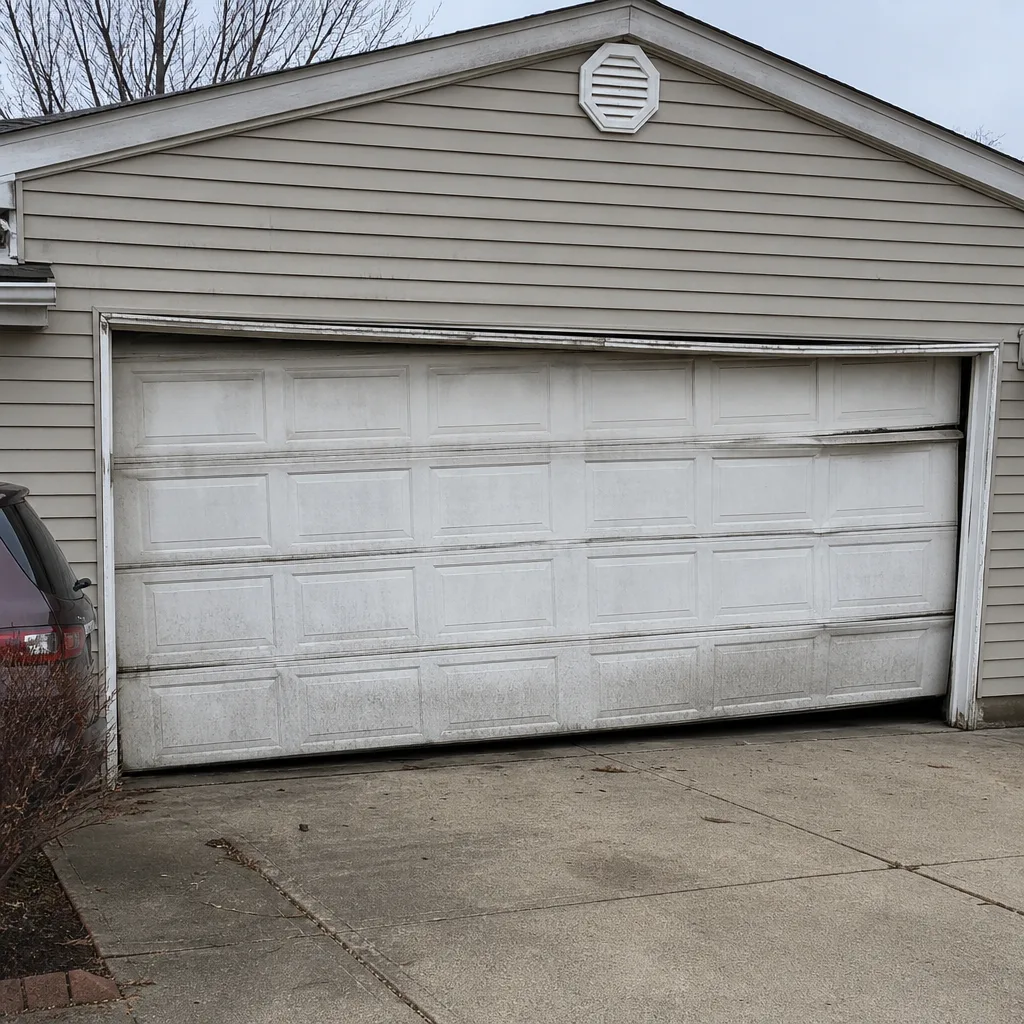
See the difference
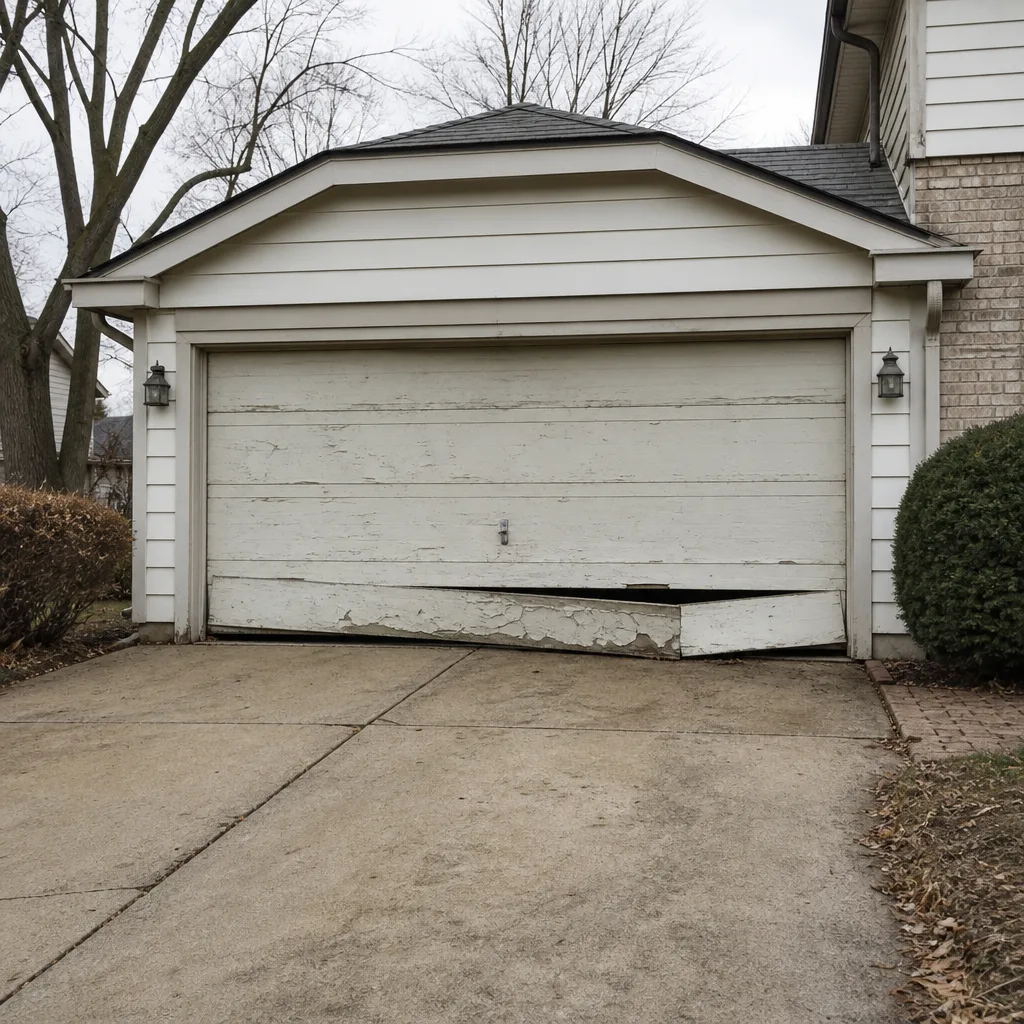 Before
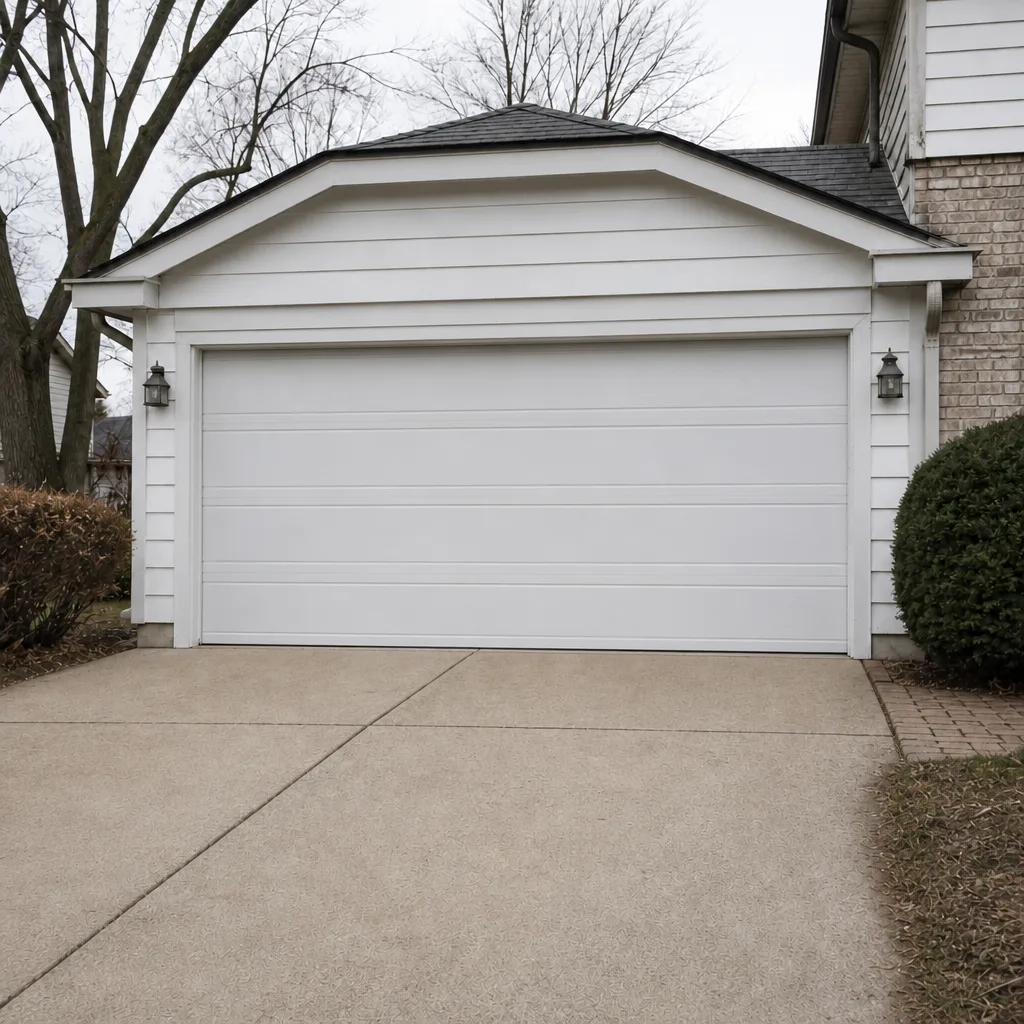 After
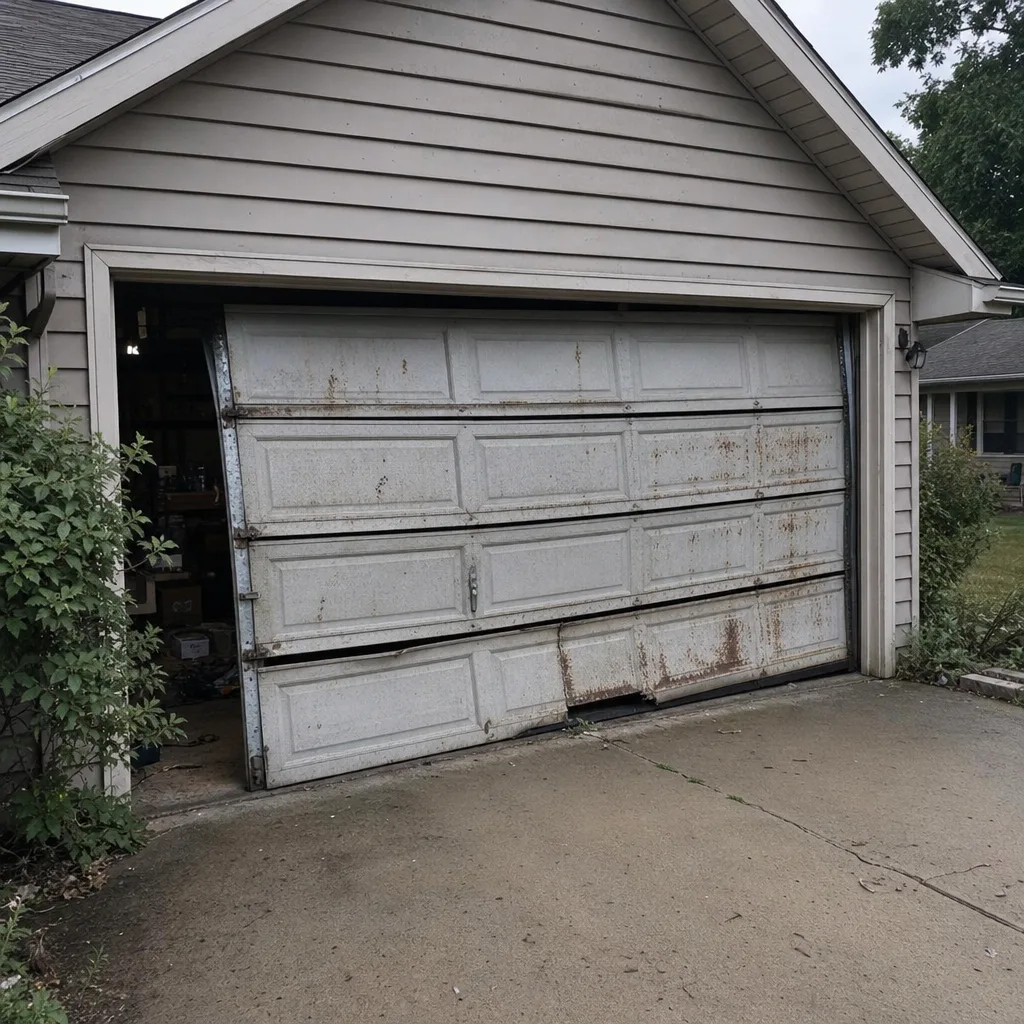 Before
 After
 Before
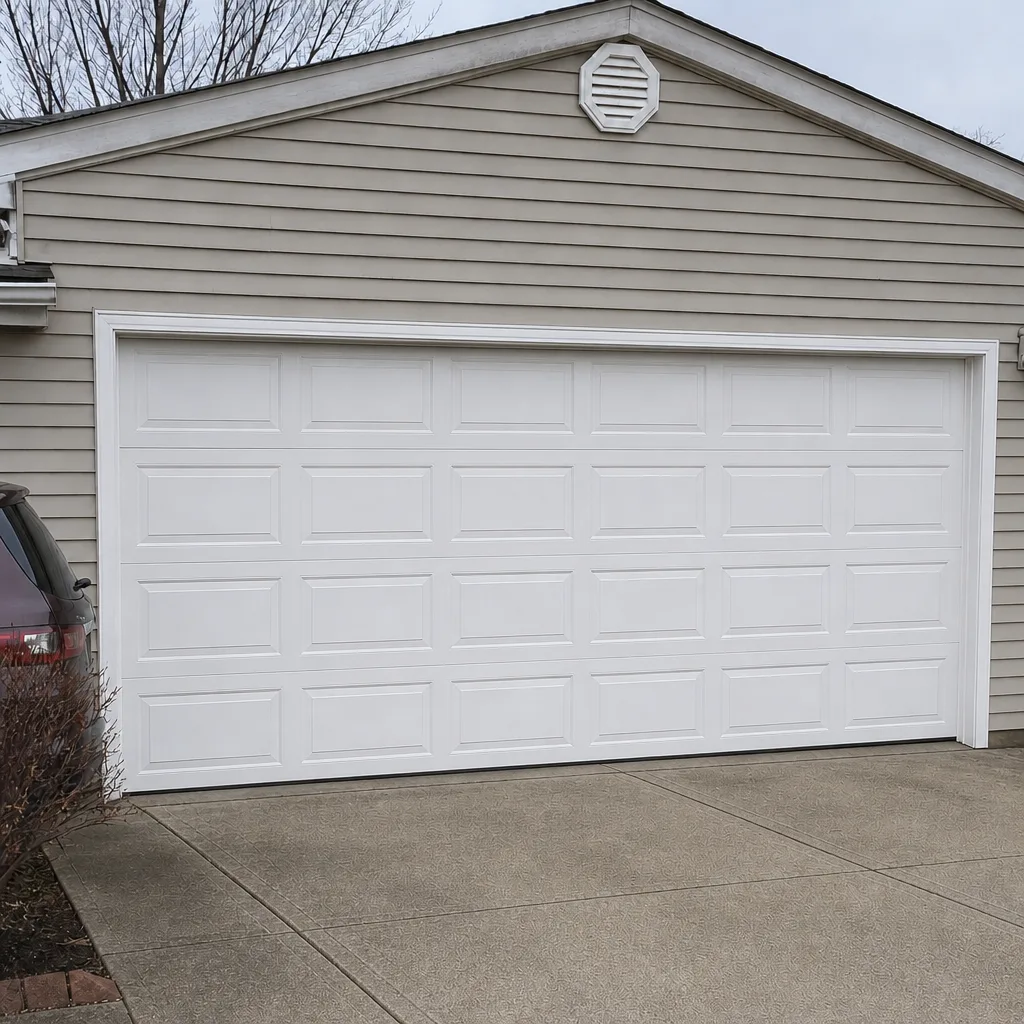 After
When to Call a Professional
Call a professional when the task is on the red list, when the door is out of balance, when the work requires winding bars, torque wrenches or cable drums, or when a previous DIY attempt has left the door running rough. Also call us if your door has failed to close and you have pets or children in the home – the danger of a door that reverses improperly is not theoretical. Steadfast Garage Door Repair offers free estimates in Naperville – call (833) 467-3941. We answer 24/7, with fast dispatch from 7am to 7pm, Sunday through Friday. We handle repair, opener service, and installation across eight production brands – Clopay, Amarr, Wayne Dalton, LiftMaster, Chamberlain, Genie, Craftsman, and Raynor – so whichever door you own, we know the equipment before we arrive. A written estimate sets the final price, and it’s agreed before any work begins.
Frequently Asked Questions
No. Torsion and extension springs store enough energy to cause serious injury, and the correct procedure requires hardened winding bars, a torque wrench, and a spring clamp rated for the job – tools most homeowners do not own and cannot improvise safely. Even a careful homeowner using screwdrivers as substitute winding bars is at real risk. Call (833) 467-3941 for a free estimate on a professional spring replacement in Naperville.
Spring repair is priced per spring, and a matched pair is usually replaced together, which roughly doubles the single-spring cost. The written estimate sets the final price, and we quote it before any work starts, so the number on the estimate is the number on the invoice. Call (833) 467-3941 for a free estimate – we can give you a firm number over the phone for most spring jobs.
Random reversal is almost always photo-eye misalignment or a failing travel limit setting, and both are on the DIY-safe list. Start by checking the two sensors near the floor – wipe the lenses, check that both LEDs are steady, and realign if one is blinking. If the door still reverses after that, the opener travel limit needs adjustment or a component has failed, and that’s a professional call. Our garage door opener repair page covers what usually comes next.
It can. Many residential door warranties require professional service for hardware and torsion work, and a homeowner-installed spring or cable that fails can void the covered portion of the door and, in some cases, the opener warranty. Check your panel sticker and warranty booklet before starting, especially on newer Clopay, Amarr, and Wayne Dalton doors. If you’re not sure, call us and we’ll walk you through the documentation.
In many cases, yes. We answer 24/7, and our technicians run fast dispatch from 7am to 7pm, Sunday through Friday. A call outside dispatch hours is booked into the next opening. Same-day service is often available for repair calls. Installation and full door replacement are measured, ordered, and scheduled rather than same-day. Call (833) 467-3941 to check availability for today.
None – it’s one of the easiest garage door tasks a homeowner can do. Use a garage-door-rated lubricant on each hinge pivot, each roller stem, and the opener rail (belt or chain), avoid the tracks, and repeat once or twice a year. Two minutes of proper lubrication is the highest-return DIY task on the door. If the door is still noisy after a proper lube, that’s the point to call (833) 467-3941 for a diagnosis.
The Bottom Line
DIY has a real place in garage door ownership – weatherstripping, sensor alignment, lubrication, and remote programming are all safely within reach. Springs, cables, drums, and panel wiring are not, and the cost of a professional job is well below the cost of getting those tasks wrong. In Naperville, the winter freeze-thaw cycle makes that line sharper, not blurrier. The five-step process in this guide tells you which side of the line any task is on. If the task is a professional one, call (833) 467-3941 for a free estimate. We work on what you already have, we handle repair, opener service, and installation under one specialist team, and the written estimate sets the final price before any work begins.
Written by the team at Steadfast Garage Door Repair.