
Last updated November 15, 2026
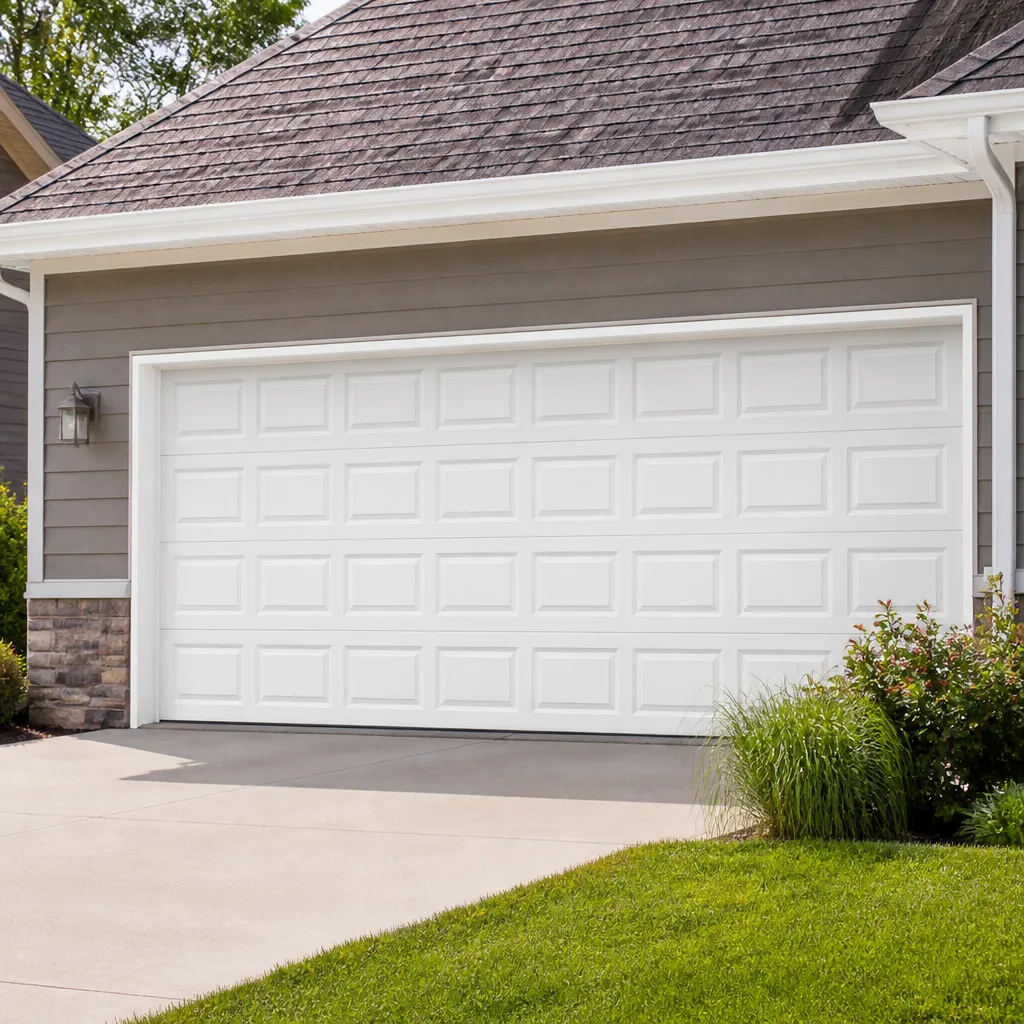 Raised-panel steel
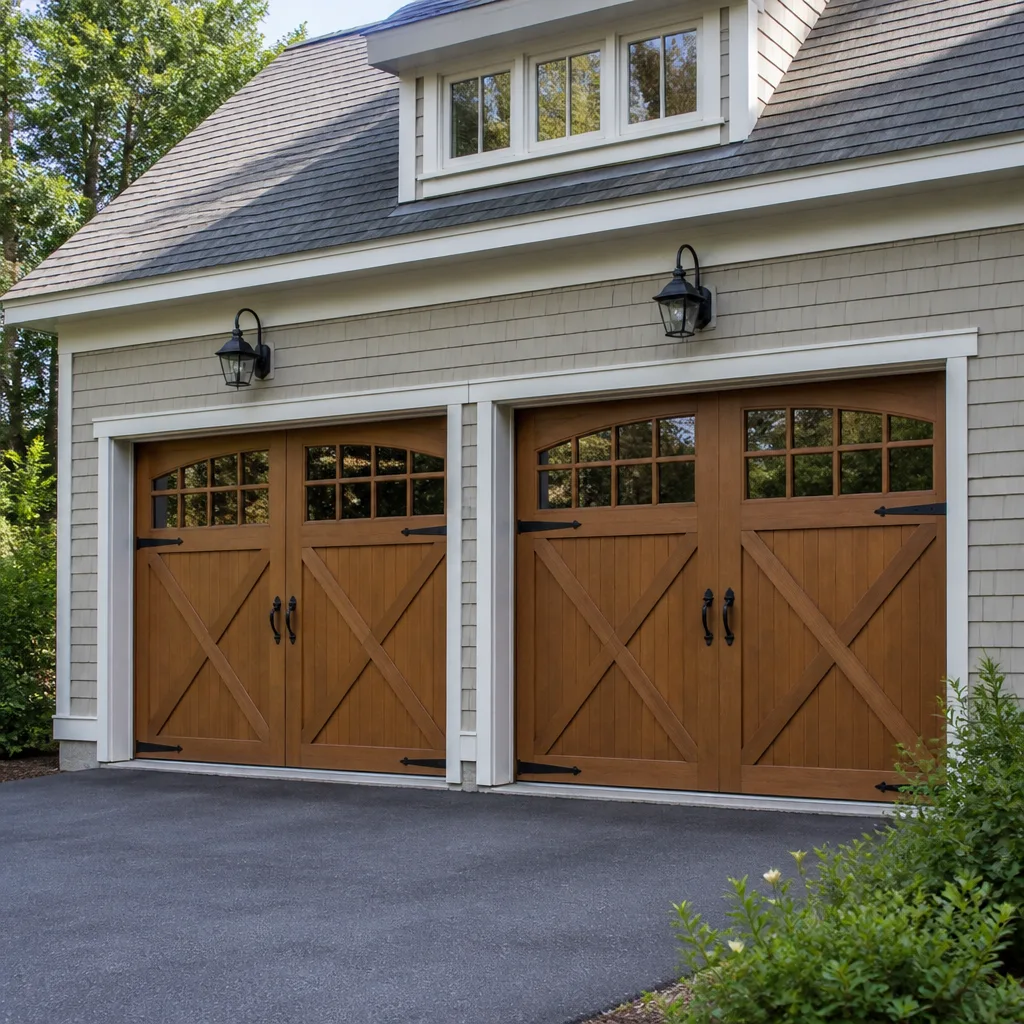 Carriage house
 Modern flush
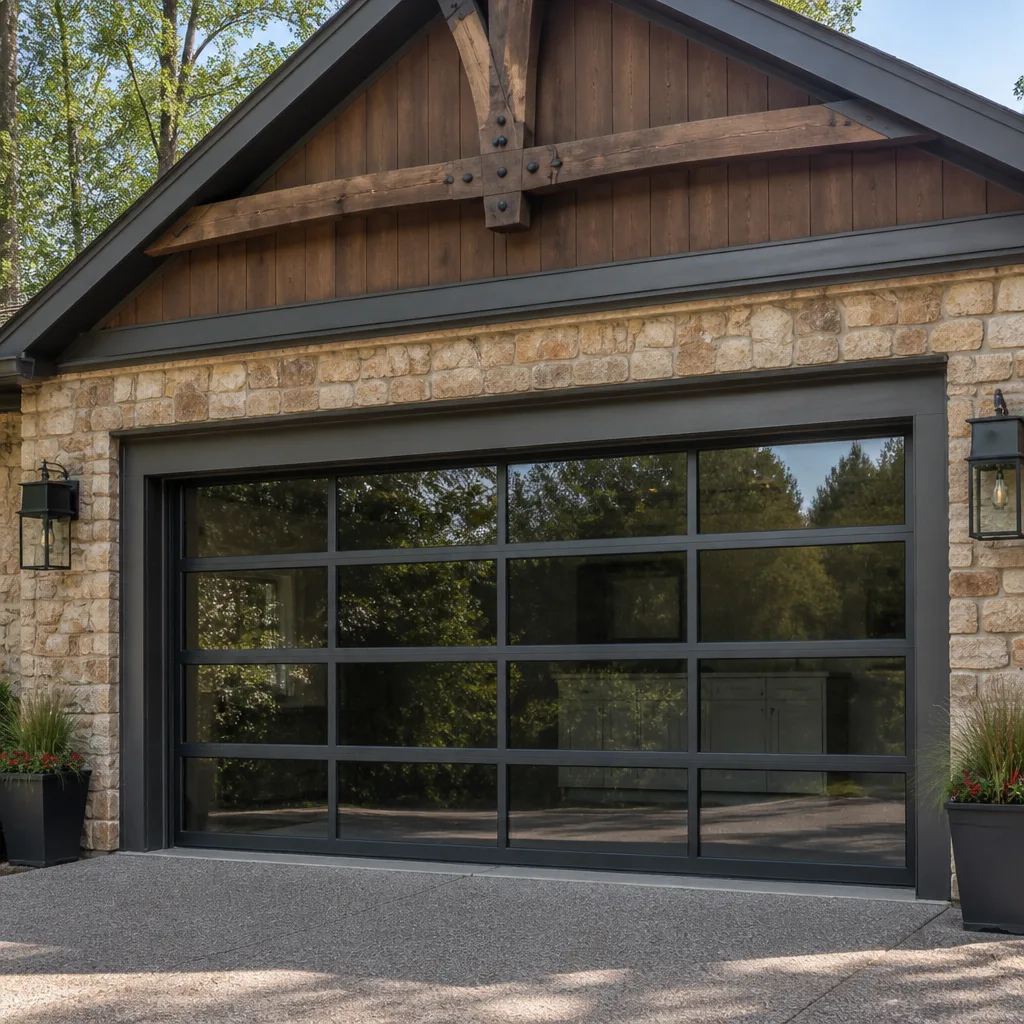 Full-view glass
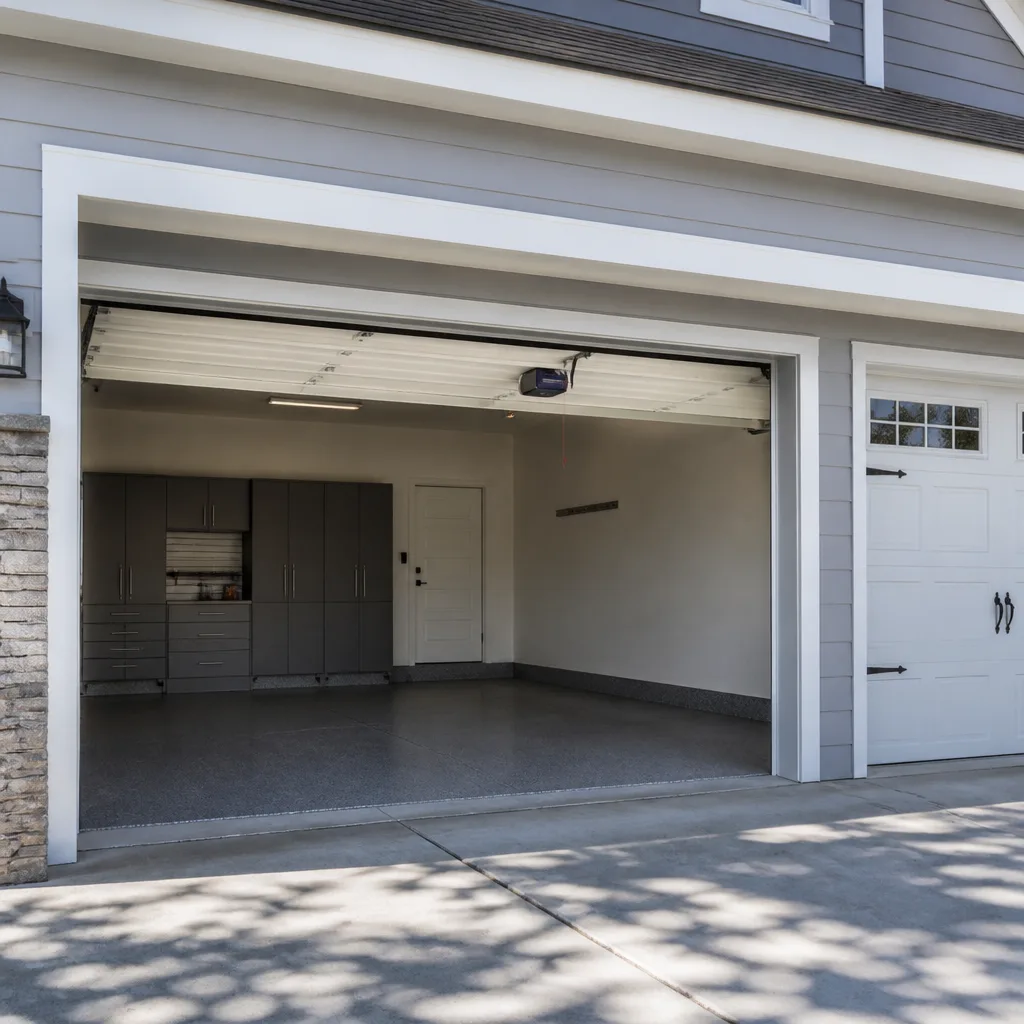 LiftMaster openers
 Chamberlain openers
Full 25-point door and opener safety check with every visit - springs, cables, rollers, tracks, and your LiftMaster or Chamberlain opener included
You get a price before we start. It does not change when the pro arrives.
Get your free estimateGarage Door Repair Maintenance Checklist for Naperville Homeowners
Most garage door maintenance checklists tell you to lubricate the springs. That’s correct, and it’s also where most of them stop. What they leave out is that reaching for WD-40 instead of a lithium-based grease is one of the fastest ways to speed up corrosion on those springs through a humid Midwest summer, and that’s exactly the kind of small error that shortens a door’s life here in Naperville. A checklist without pass/fail thresholds is just a list of things to look at. This guide gives you the thresholds. For every component, you’ll learn what healthy looks like, what compromised looks like, and where the line sits between “keep an eye on it” and “call someone.” We cover lubricants that survive Naperville’s temperature swings, how to test balance and auto-reverse with real numbers, and which tasks are genuinely do-it-yourself versus which need a torque wrench and experience.
Quick Answer
A solid garage door maintenance checklist covers seven things: springs, cables, rollers, hinges, tracks, the opener’s balance and auto-reverse settings, and the weather seal at the bottom. In Naperville’s climate, the two checkpoints that matter most are spring condition and lubricant choice, because the freeze-thaw cycle and humid summers wear both faster than in milder regions. Run the full checklist twice a year, in spring and fall, and treat any pass/fail failure on springs or cables as a call-a-professional item rather than a DIY fix.
Styles & brands we work with
- Raised-panel steel
- Carriage house
- Modern flush
- Full-view glass
- LiftMaster openers
- Chamberlain openers
Table of Contents
- Why Naperville’s Climate Changes the Checklist
- Springs: What a Healthy Spring Looks Like vs. a Failing One
- The Right Lubricants for Naperville Temperature Swings
- Testing Balance, Travel Limits, and Auto-Reverse Force
- Cables, Rollers, Hinges, and Tracks: Pass/Fail Checks
- Maintenance Tasks That Void Warranties (Done Wrong or Skipped)
- DIY vs. Professional: Time, Tools, and Honest Limits
- A Seasonal Schedule for Naperville Homeowners
Why Naperville’s Climate Changes the Checklist
Naperville sits in a climate that swings from roughly -10°F in a hard January to 95°F in a July heat wave, and that range does specific damage to garage door hardware. Metal expands and contracts across that spread. Lubricant that flows fine at 80°F turns to a sticky gum at 10°F, which is why a door that glides in October can groan and stall in February. The same humidity that makes Naperville summers feel heavy also accelerates corrosion on bare steel springs and cables, especially in garages that aren’t climate-controlled.
That combination matters for how often you inspect. A homeowner in a mild coastal climate might get away with one annual check. In Naperville, twice a year is the realistic baseline, and the fall inspection carries extra weight because it’s your last real chance to catch a problem before the cold sets in and small issues turn into frozen, stuck doors.
Neighborhood layout plays a role too. Homes in older parts of Naperville often have detached or semi-detached garages that see more moisture and temperature variation than an attached garage sharing a wall with the house. If your garage is freestanding, treat the humidity-related checkpoints (springs and cables) as higher priority.
The housing stock adds another variable. Naperville has a wide mix of door ages and types, from older wood doors to newer steel and composite panels. A Clopay or Amarr steel door from the last decade and a wood door from decades earlier need different attention. Steel panels resist moisture but can dent; wood panels absorb humidity and can warp if the sealer breaks down. Know what you have before you start.
None of this requires special equipment to observe. It requires knowing what to look for and when the look turns into a call. That’s what the rest of this guide gives you.
Springs: What a Healthy Spring Looks Like vs. a Failing One
Springs are the component most likely to fail and the one you should never adjust or replace yourself. They store the energy that lifts the door, and when one lets go it releases that energy violently. A trained technician treats spring work as a safety procedure, not a maintenance task. Your job is to recognize the difference between a healthy spring and a compromised one, and to know when to stop and call.
Garage doors use two spring types. Torsion springs mount horizontally above the door on a shaft. Extension springs run along the sides. Both fail in ways you can spot without touching them.
What a healthy spring looks like
- Even, tight coils with consistent spacing and no visible gaps
- Clean, dry metal with no rust bloom or flaking
- No separation at either end where the spring attaches
- The door lifts smoothly and stays balanced when you let go halfway up
What a compromised spring looks like
- A visible gap of an inch or more in the coil, which usually means the spring has broken
- Rust spots or orange-brown discoloration, common on bare springs in humid Naperville garages
- A stretched-out, elongated look on an extension spring, which signals it’s near the end of its life
- The door feels extremely heavy when you lift it by hand, or slams down instead of holding
- A loud bang you heard from inside the house, followed by a door that won’t lift
Any of those last three is a stop-using-the-door signal. Don’t force it open with the opener, because a door with a broken spring puts enormous strain on the opener motor and can damage it as well. If you see a gap in a torsion spring or hear that bang, that’s the moment to call. Steadfast Garage Door Repair handles garage door repair in Naperville, and a failed spring is one of the most common calls we take.
One thing worth knowing: springs are rated for a number of cycles, not years, and the number is printed or implied by the spring’s color code. A household that opens the door four times a day wears a spring far faster than one that opens it twice. If your door gets heavy use, inspect the springs more often than twice a year.
The Right Lubricants for Naperville Temperature Swings
This is where the checklist most often goes wrong, and where the difference between the right product and the wrong one shows up within a single season. A garage door has several places that need lubrication, but they don’t all take the same product, and the wrong one does real harm.
What not to use
Skip WD-40 as a door lubricant. It’s a solvent and light oil, not a grease, and it evaporates and attracts dust. On springs, a thin solvent oil can strip whatever protective coating is left and leave bare metal exposed to the humidity that drives corrosion in a Naperville summer. It also gums up in cold weather, which is the opposite of what you want when temperatures drop below freezing.
Skip anything labeled as a general-purpose household oil, and skip silicone spray on metal-to-metal contact points like hinges and rollers. Silicone is fine for some surfaces but doesn’t hold up as a load-bearing lubricant.
What holds up in Naperville’s climate
- Lithium-based white grease or a purpose-made garage door lubricant for springs, hinges, and the torsion shaft. These stay put across the full temperature range and resist washing out in humid conditions.
- A spray lithium grease for rollers and the hinge pivot points, so you can reach the small gaps without disassembly.
- A silicone-based lubricant for the weather seal along the bottom of the door and for the tracks, where you want slickness without attracting grit.
- Never grease the tracks. A greasy track collects dust and debris, and that grit wears the rollers faster. Wipe tracks clean and dry, and leave them dry.
The practical rule for Naperville: choose products rated to stay flexible across a wide temperature band, and reapply before winter rather than after. Grease applied in October protects through the cold months. Grease applied in spring protects through the humid stretch. Both applications matter here because the climate hits you from both directions.
If you’re not sure what your door’s hardware actually calls for, that’s a reasonable thing to ask about when you call. Call (833) 467-3941. We answer 24/7. Fast dispatch from 7am to 7pm, Sunday through Friday.
Testing Balance, Travel Limits, and Auto-Reverse Force
Three tests tell you whether your door and opener are working safely together, and all three use concrete numbers rather than a vague sense that things seem fine. Run them after any lubrication and any time the door starts behaving differently.
1. The balance test
- Close the door and pull the emergency release cord to disconnect the opener. The door is now manual.
- Lift the door by hand to about halfway open and let go.
- A balanced door holds its position or drifts only slightly. A door that drops on its own or needs serious effort to lift is out of balance.
An out-of-balance door usually points to a spring problem or a track issue, and it strains the opener on every cycle. Don’t keep running it through the opener hoping it settles. Reconnect the opener only after the door passes, and if it fails, that’s a call.
2. Travel limits
Travel limits control how far the opener drives the door up and down. When they’re off, the door stops short of fully closed (leaving a gap) or reverses before it reaches the floor. Watch a full open-and-close cycle. A correct setting has the door sit firmly and evenly on the floor at the bottom, and stop cleanly at the top without straining. If the door stops a few inches short or the opener keeps running after the door hits the floor, the limits need adjusting.
3. Auto-reverse force test
This is the safety function that reverses the door if it meets resistance while closing. Test it with a roll of paper towels or a 2×4 laid flat on the floor in the door’s path.
- Place the object flat in the center of the doorway.
- Close the door using the opener.
- The door should contact the object and reverse direction within about two seconds.
If it doesn’t reverse, or if it pushes down hard before backing off, the force setting is too high or the safety sensors are misaligned. Test the photo-eye sensors separately by passing an object through the beam while the door closes; the door should reverse immediately. Both of these are safety features, and a door that fails either test shouldn’t be used until it’s corrected. If the sensors are fine but the door still won’t reverse properly, garage door opener repair is the next step, and it’s work we handle.
Door openers from LiftMaster, Chamberlain, and Genie all use the same basic test logic, though the adjustment dials or buttons differ by model. If you’re not sure where yours are, the owner’s manual is the place to look, and a technician who works across those brands will know exactly where to find them.
Cables, Rollers, Hinges, and Tracks: Pass/Fail Checks
The hardware that carries the door needs the same kind of look. Here’s what each component should and shouldn’t show.
Cables
- Pass: Cables run straight along their path, sit snugly in their drums, and show evenly twisted wire with no fraying.
- Fail: Frayed strands, kinks, a slack cable, or a cable that has jumped off its drum. Any of these is a stop signal. A snapping cable is dangerous, and cables are under high tension. Don’t touch them; call a professional.
Rollers
- Pass: Rollers turn freely, run quietly in the track, and show no flat spots or chips.
- Fail: A roller that wobbles, grinds, has a flat spot on the nylon wheel, or has worn loose in its stem. Worn rollers cause the door to run rough and can damage the track. They’re a replaceable part, and this is one of the few jobs a handy homeowner can do, though the door should be in the down position and disconnected from the opener.
Hinges
- Pass: Hinges are tight against the door, and the pivot points show a light film of grease.
- Fail: Loose screws, a hinge that’s bent or missing a screw, or a hinge that grinds. Loose screws are often a sign of vibration loosening over time, and they’re easy to snug down with the right screwdriver. Persistent loosening can point to a balance problem.
Tracks
- Pass: Tracks are straight, plumb, and clean, with the door running evenly in them.
- Fail: Dents, bends, or tracks that have shifted out of alignment. A bent track will throw the door off balance and wear the rollers. Straightening a track usually needs a professional’s tools, and a badly bent track should be replaced. Clean tracks with a damp cloth and dry them; don’t lubricate them.
Weather seal and bottom threshold
- Pass: The bottom seal compresses against the floor with no daylight showing, and it’s flexible, not cracked.
- Fail: A brittle, cracked, or torn seal that lets air, water, and pests in. In Naperville’s climate, a worn seal lets cold air into the garage all winter and can let moisture in during the thaw. It’s an inexpensive part to replace and a reasonable DIY job.
Maintenance Tasks That Void Warranties (Done Wrong or Skipped)
Most garage door and opener warranties don’t require you to service anything yourself, but they do care about certain mistakes. Some are things you shouldn’t attempt; others are things you shouldn’t skip. Here’s the distinction.
Three tasks that can void a warranty if done incorrectly
- Adjusting or replacing springs without the right tools and experience. Spring work requires winding bars and specific safe procedures. A spring that’s improperly installed or over-tensioned can fail early, and a warranty claim on a spring that shows signs of a bad install is likely to be denied. This is a job for a technician.
- Adjusting the opener’s force or travel settings past the recommended range. Turning up the force to get a sticking door to close is a common shortcut. It puts more strain on the opener’s gears and motor, and it can void the opener warranty because it’s operating outside spec. If the door needs more force, something else is wrong.
- Improper lubricant choice. Some warranty language specifically excludes damage from using the wrong product. Coating springs in WD-40 or a solvent can create the corrosion that leads to a failed spring, and that failure is not something a warranty tends to cover.
Two tasks that can void a warranty if skipped
- Never lubricating the moving parts. A dry door wears out hinges, rollers, and springs faster, and some warranties tie coverage to reasonable maintenance. A door that’s never been lubricated shows it.
- Ignoring a known problem. Continuing to run a door after a spring fails, a cable frays, or the balance goes out can cause secondary damage to the opener and door panels. That damage is often excluded from warranty coverage. Don’t keep cycling a door that’s telling you it’s broken.
The takeaway: the tasks you should do yourself are the low-risk ones (lubrication, cleaning, seal replacement, snugging screws). The tasks you should leave to a professional are the ones that involve springs, cables, and opener calibration, and doing them wrong costs more than calling for help.
DIY vs. Professional: Time, Tools, and Honest Limits
Before you start, be honest about which tasks you can do well. Here’s a realistic breakdown.
Genuinely DIY-friendly (with the right tools)
- Lubrication: 15-20 minutes. You need a lithium grease spray, a silicone spray, and a rag. No special experience required.
- Cleaning tracks and wiping down the door: 15 minutes. A damp cloth and a dry rag.
- Tightening loose hinge screws: 10 minutes. A screwdriver of the correct size.
- Replacing the bottom weather seal: 20-30 minutes. A new seal cut to length; how it attaches depends on your door, so check the existing seal’s type first.
- Testing balance, travel, and auto-reverse: 10 minutes. No tools beyond something to lay in the door’s path for the reversal test. The value here is the diagnosis, not the repair.
Best left to a professional
- Spring replacement or adjustment: requires winding bars and specific procedures. The stored energy in a spring makes this dangerous without training.
- Cable replacement or adjustment: cables are under high tension, and a mishandled cable can snap.
- Track straightening or replacement: needs the right tools and an understanding of alignment.
- Opener force and travel calibration when the door is failing: you can test the settings, but correcting a persistent failure means finding the underlying cause.
Our technicians have up to 15 years of experience, and they work on the door and opener you already have rather than steering you toward a particular product. We work with LiftMaster, Chamberlain, Genie, Clopay, Amarr, Wayne Dalton, Craftsman, and Raynor, so whatever you’re standing in front of, we’re familiar with how it’s built and how it fails.
The realistic time answer for a full DIY pass on the safe tasks is under an hour, twice a year. The realistic time answer for the safe tasks plus a professional inspection of the dangerous ones is one call and a scheduled visit. If you’re going to do one thing, do the lubrication and the three safety tests, because those catch most problems early.
A Seasonal Schedule for Naperville Homeowners
Twice a year is the working rhythm. Fall and spring, and each one has a different focus because the season ahead is different.
Fall inspection (before the cold)
- Lubricate springs, hinges, rollers, and the torsion shaft with lithium grease. This is your protection through the freeze.
- Test balance with the door disconnected. A door that balances now stays easier to operate in the cold.
- Test auto-reverse and travel limits. Cold weather hardens seals and can affect how the door closes.
- Inspect the weather seal along the bottom. A cracked seal lets cold air in all winter; replace it now.
- Look at the springs and cables for rust or fraying, and note anything that looks marginal.
Spring inspection (after the thaw)
- Reapply grease to the moving parts, since winter has washed and dried some of it out.
- Recheck balance and the reversal tests.
- Look for moisture damage: rust on springs and cables, and warping on wood or composite doors, which the humid summer can bring out.
- Clean tracks and confirm rollers turn freely.
- Look at hinges and screws, and snug down anything that’s loosened.
If your door gets heavy use, or if your garage is detached and sees more temperature variation, add a mid-season look. And if anything fails a safety test, don’t wait for the seasonal schedule. That’s the moment to call.
Common Mistakes to Avoid
- Using WD-40 as a lubricant. It’s a solvent, not a grease, and it leaves springs exposed to the humidity that drives corrosion here. Use lithium grease instead.
- Greasing the tracks. This is the opposite of helpful. Lubricated tracks collect dust and grit, and the grit wears rollers faster than dry tracks would. Wipe them clean and leave them dry.
- Forcing a door with a broken spring through the opener. It seems like a shortcut, but it puts the entire lifting load on the opener motor. That can turn a spring repair into a spring-plus-opener job.
- Turning up the opener’s force to get a sticking door to close. If the door needs more force, something else is wrong. Raising the setting stresses the motor and can void the warranty.
- Skipping the safety tests because the door “seems fine.” The auto-reverse and photo-eye tests are the ones that catch a dangerous condition before it matters. They take a couple of minutes.
- Assuming a rough-running door just needs grease. Rough operation can point to a balance problem, worn rollers, or a bent track. The tests tell you which, and greasing over a mechanical issue just delays the fix.
- Leaving the bottom seal cracked through the winter. A worn seal lets cold air and moisture into the garage for months. In Naperville’s climate, replacing it in the fall is cheap insurance.
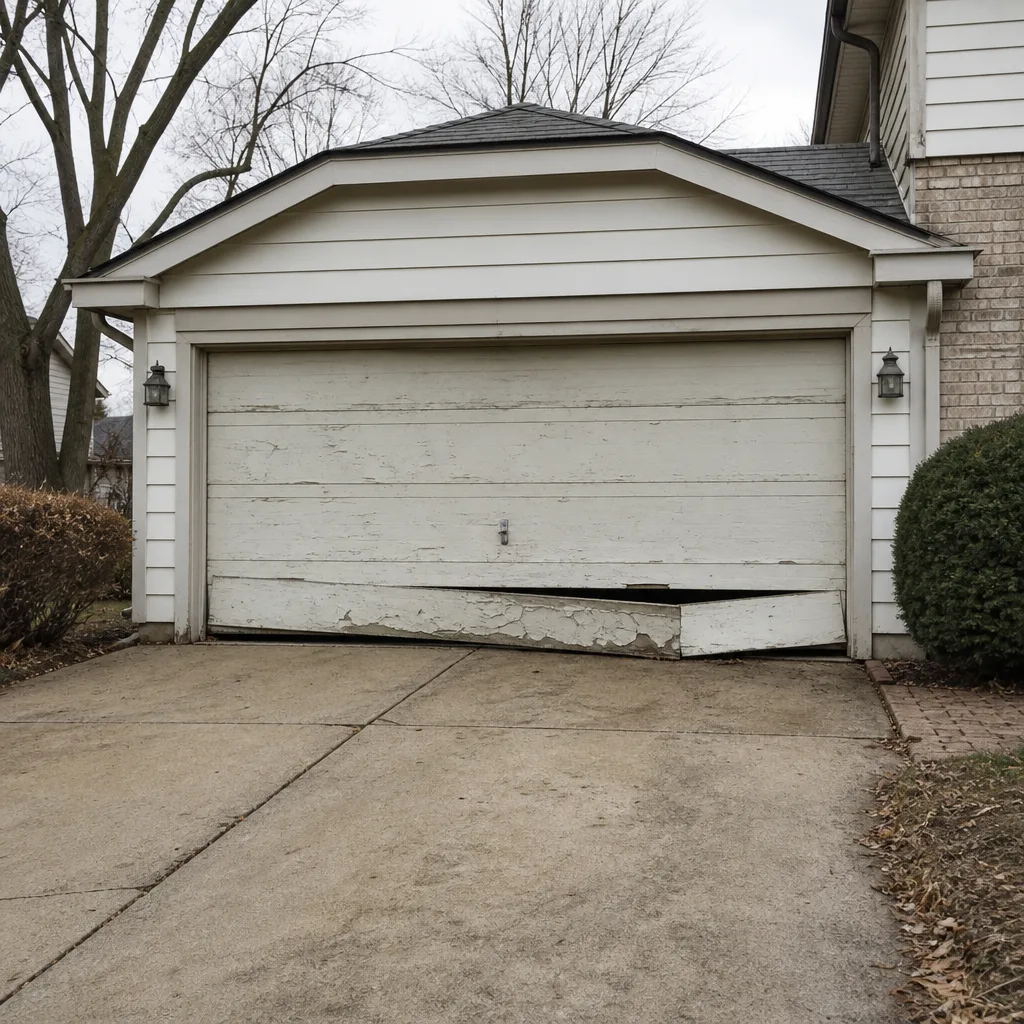
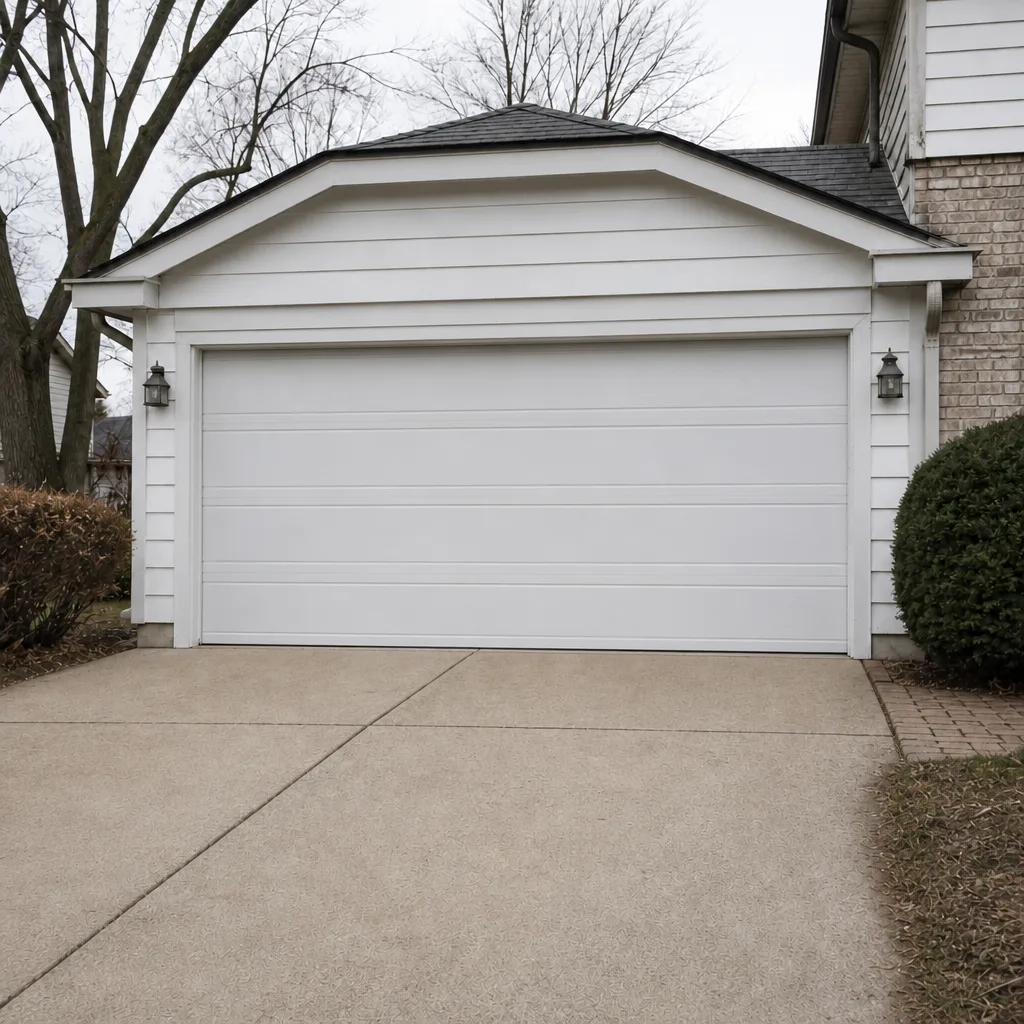
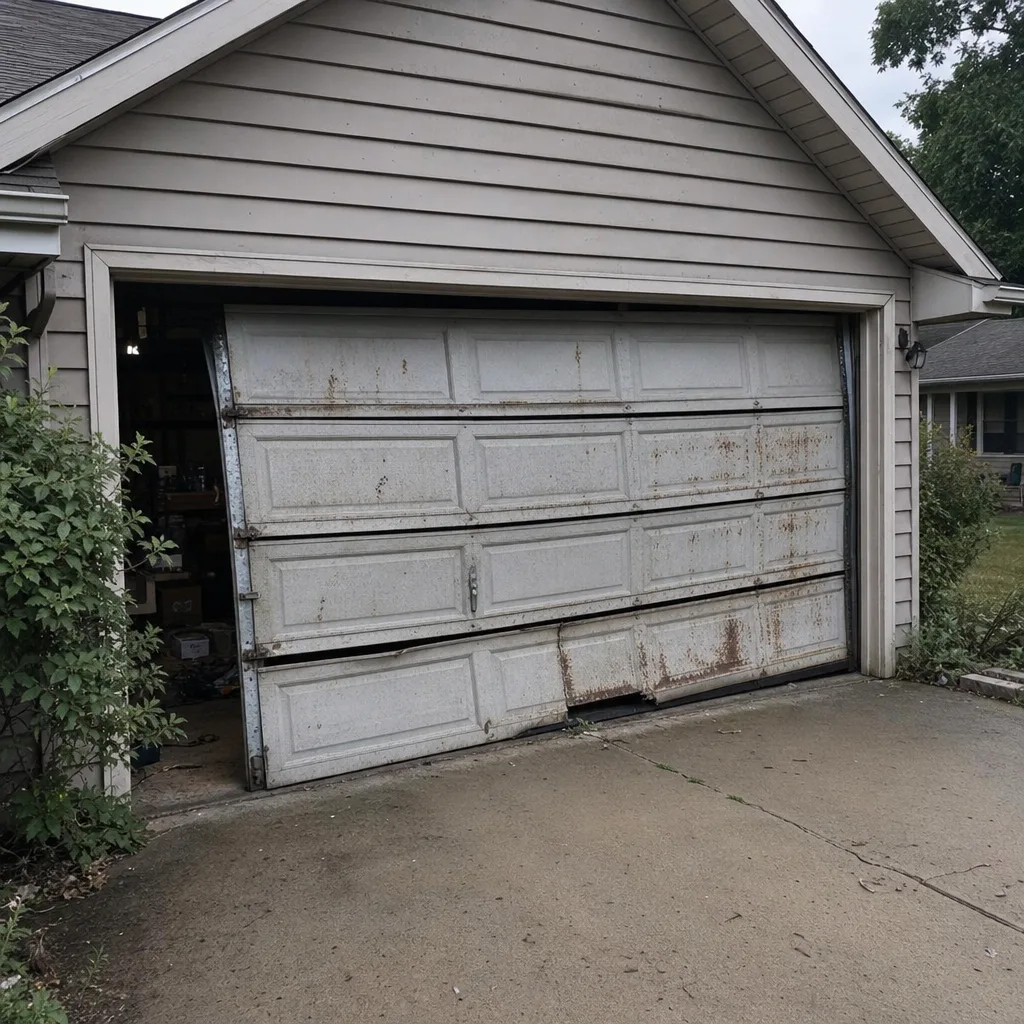
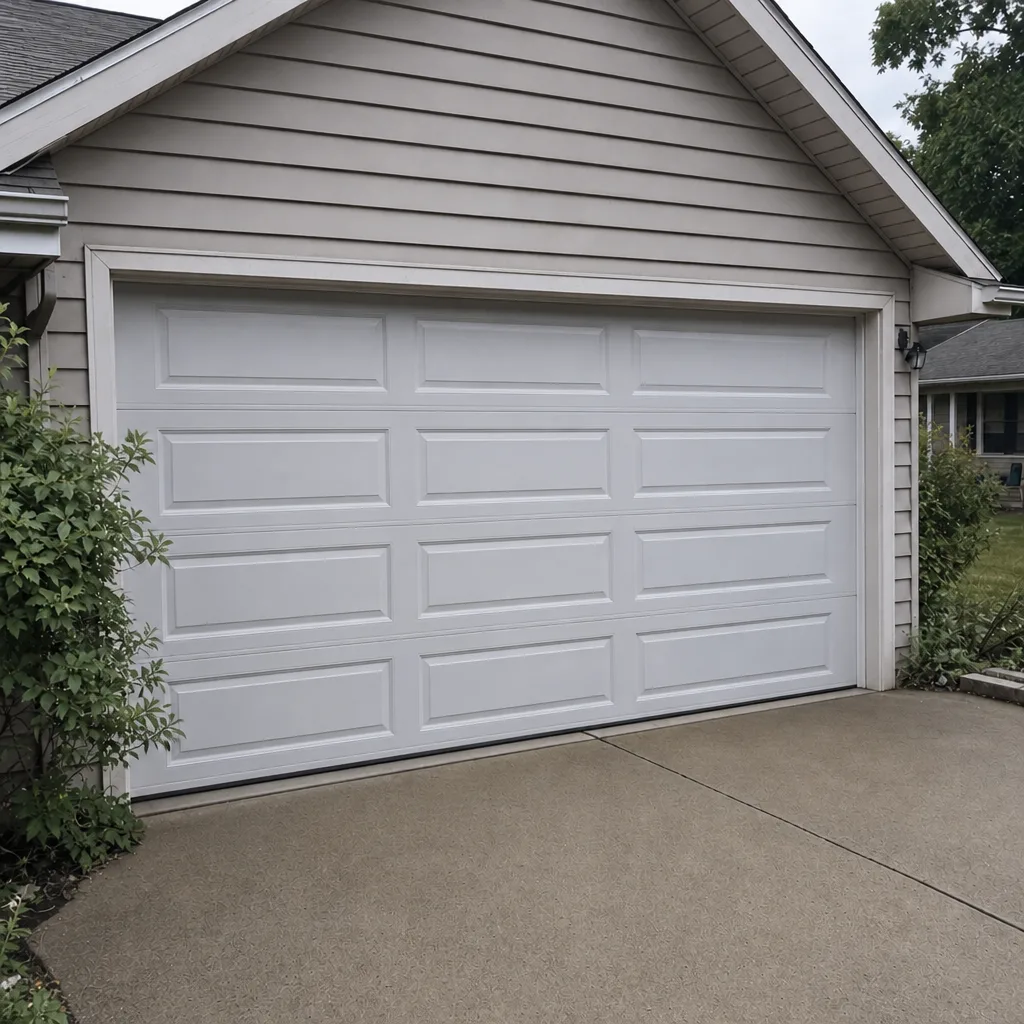
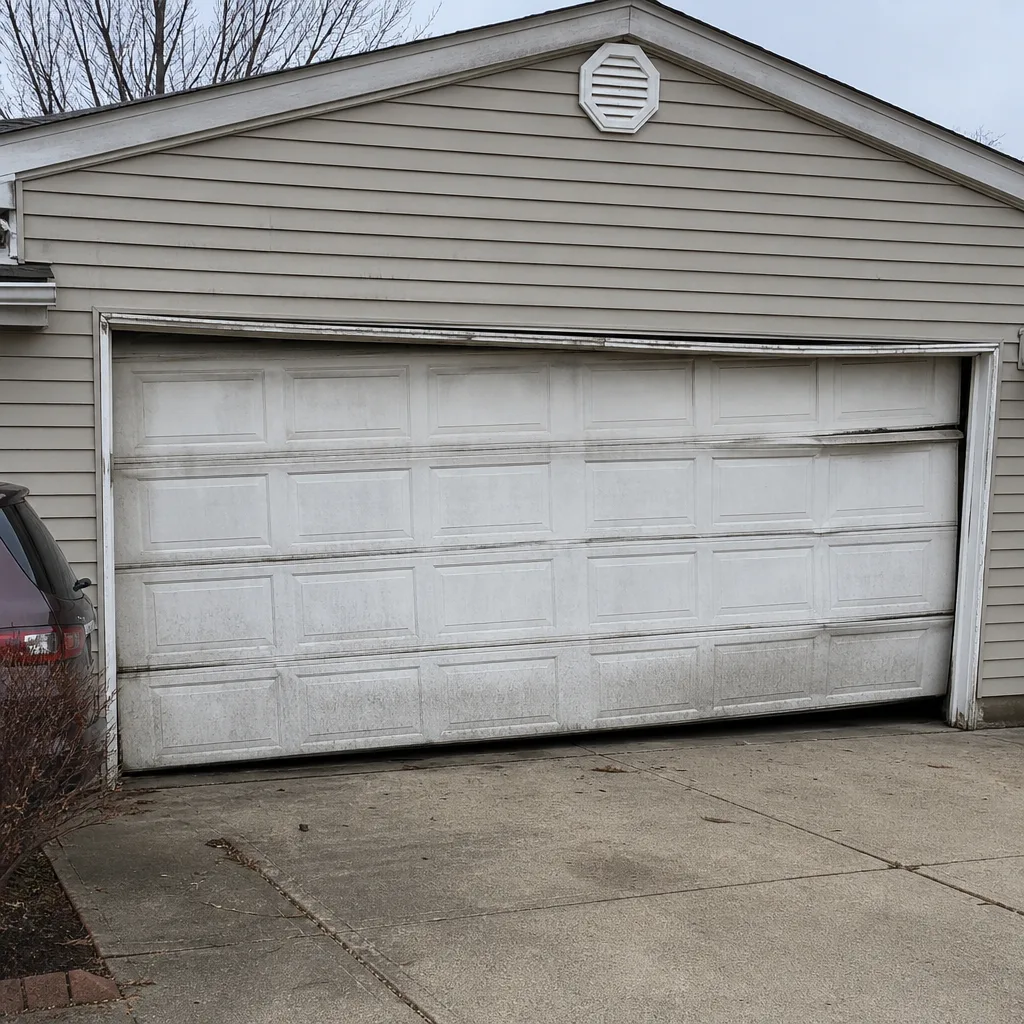
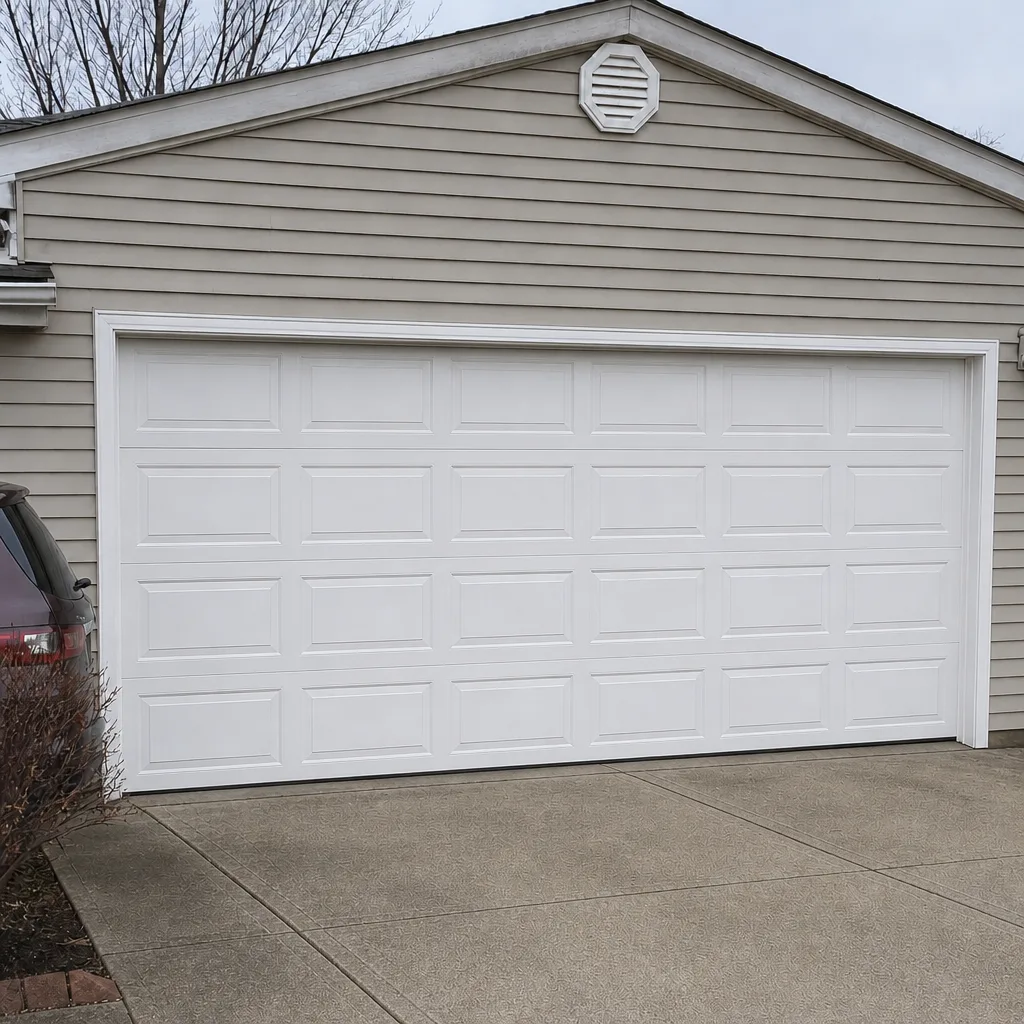
See the difference
 Before
 After
 Before
 After
 Before
 After
When to Call a Professional
Some problems are safe to handle yourself, and some need a trained technician. Call when anything involves springs, cables, or a door that’s gone out of balance. Those components store and release serious energy, and the wrong move with a winding bar or a tensioned cable can cause real injury. Call when the safety tests fail and adjustments to the force and travel settings don’t fix it, because a door that won’t reverse properly is a safety issue, not a nuisance. Call when a cable is frayed or slack, when a track is visibly bent, or when an opener grinds, strains, or stops lifting. And call when you’ve lost confidence in the door’s balance, because that affects every cycle the door makes. Steadfast Garage Door Repair offers free estimates in Naperville – call (833) 467-3941. We answer 24/7. Fast dispatch from 7am to 7pm, Sunday through Friday.
Frequently Asked Questions
Twice a year, in fall and spring, is the working baseline in Naperville’s climate. Fall matters most because it’s your last chance to lubricate and adjust before the cold arrives, and spring catches any moisture damage from the humid summer. If your door gets heavy use or your garage is detached, add a mid-season check. Lubricate and run the safety tests on that same twice-a-year rhythm.
No. WD-40 is a solvent and light oil, not a grease, and on springs it can strip protective coating and leave the metal exposed to the humidity that drives corrosion in a Naperville summer. It also gums up in the cold. Use a lithium-based grease instead, and reapply it before winter.
A broken spring usually shows a visible gap of an inch or more in the coil, and the door feels extremely heavy when you lift it by hand. You may have heard a loud bang from the garage when it failed. Don’t force the door up with the opener; a broken spring puts the whole lifting load on the motor. Call a professional, since spring work is dangerous without training.
Test the photo-eye sensors by passing an object through the beam while the door closes; the door should reverse immediately. If the sensors are aligned and working but the door still won’t reverse within about two seconds of contacting an object, the force setting is too high or the opener needs calibration. That’s a safety issue, so don’t keep using the door until it’s fixed. Call (833) 467-3941 for a diagnosis, and the estimate is free.
Done correctly, routine maintenance supports your warranty. It can void coverage when it’s done wrong, as with improper spring work, adjusting the opener’s force settings outside spec, or using the wrong lubricant. It can also void coverage when it’s skipped, because an unlubricated door wears faster and ignoring a known problem causes secondary damage. Do the low-risk tasks yourself and leave the spring and cable work to a professional.
You can safely handle lubrication, cleaning, seal replacement, screw tightening, and the safety tests yourself. You need a professional for anything involving springs, cables, bent tracks, or an opener that won’t calibrate. Our technicians have up to 15 years of experience and work across LiftMaster, Chamberlain, Genie, Clopay, Amarr, Wayne Dalton, Craftsman, and Raynor. Call (833) 467-3941. We answer 24/7.
The Bottom Line
A maintenance checklist is only as useful as the thresholds it gives you. Know what a healthy spring looks like and what a compromised one looks like. Use a lithium-based grease, not WD-40, and leave the tracks dry. Run the balance, travel, and auto-reverse tests with real numbers rather than a vague sense that the door seems fine. Do the safe tasks yourself, call a professional for springs, cables, and bent tracks, and don’t keep cycling a door that’s telling you it’s broken. In Naperville’s climate, that twice-a-year rhythm of lubrication and testing is what keeps a door working through both the freeze and the humidity. If your inspection turns up something you’re not comfortable handling, Steadfast Garage Door Repair works on garage doors every day, and we’re glad to take a look. Homeowners across Naperville can call (833) 467-3941 for a free estimate – the price you’re quoted and agree to is the price on the written estimate, set before any work starts.
Written by the team at Steadfast Garage Door Repair.